Description of the Webmin tool
The Webmin tool provides a web interface for the management of a Linux server or more precisely the system itself. With the Webmin tool, it is possible to perform some administrative operations, which are usually executed from within the shell („command line“), via a graphical web interface, that is via a web browser of any kind. Webmin, therefore, allows performing the management of the Linux server remotely.
The Webmin tool is pre-installed within all of the TurnKey Linux images so that any VPS with the TKL image can be managed and administered remotely via the graphical web interface of Webmin. The pre-installed modules of Webmin differ across the particular images because of the different software or services which are pre-installed within the given image and can be managed via Webmin. The following modules allow / provide additional features:
- Apache2 configuration and management (if pre-installed within the given TKL image)
- DBMS MySQL configuration and management (if pre-installed within the given TKL image)
- PHP configuration and management
- Postfix e-mail server configuration and management
- Firewall management and settings
- Network configuration
- Time zone, date, time configuration
- Management of users and user groups
- Software package management
- System passwords management
- Reading and management of system logs
- Backup and migration settings (TKLBAM)
- Text editor
- Shell commands
- Basic file upload / download
- File manager (requires Java support within the web browser)
- Custom commands
- Local disk partition management
- LVM management and configuration
- RAID management and configuration
Webmin was written in the Perl Programming language. The first official release came into existence as early as 1997 and was intensively developed and improved since then. It represents one of the most used control panels for Linux servers. The architecture of the Webmin tool is modular, so it can be extended via plugins. There are many translations available, including Czech. The former primary creator of the software was the developer Jamie Cameron. Nowadays, the development is ensured by a wide community. The Webmin tool is being spread under the BSD licence. The documentation of the Webmin tool is available at:
- Official website of the Webmin tool
- Documentation of the Webmin tool
- Overview of the available Webmin modules
Use of the Webmin tool
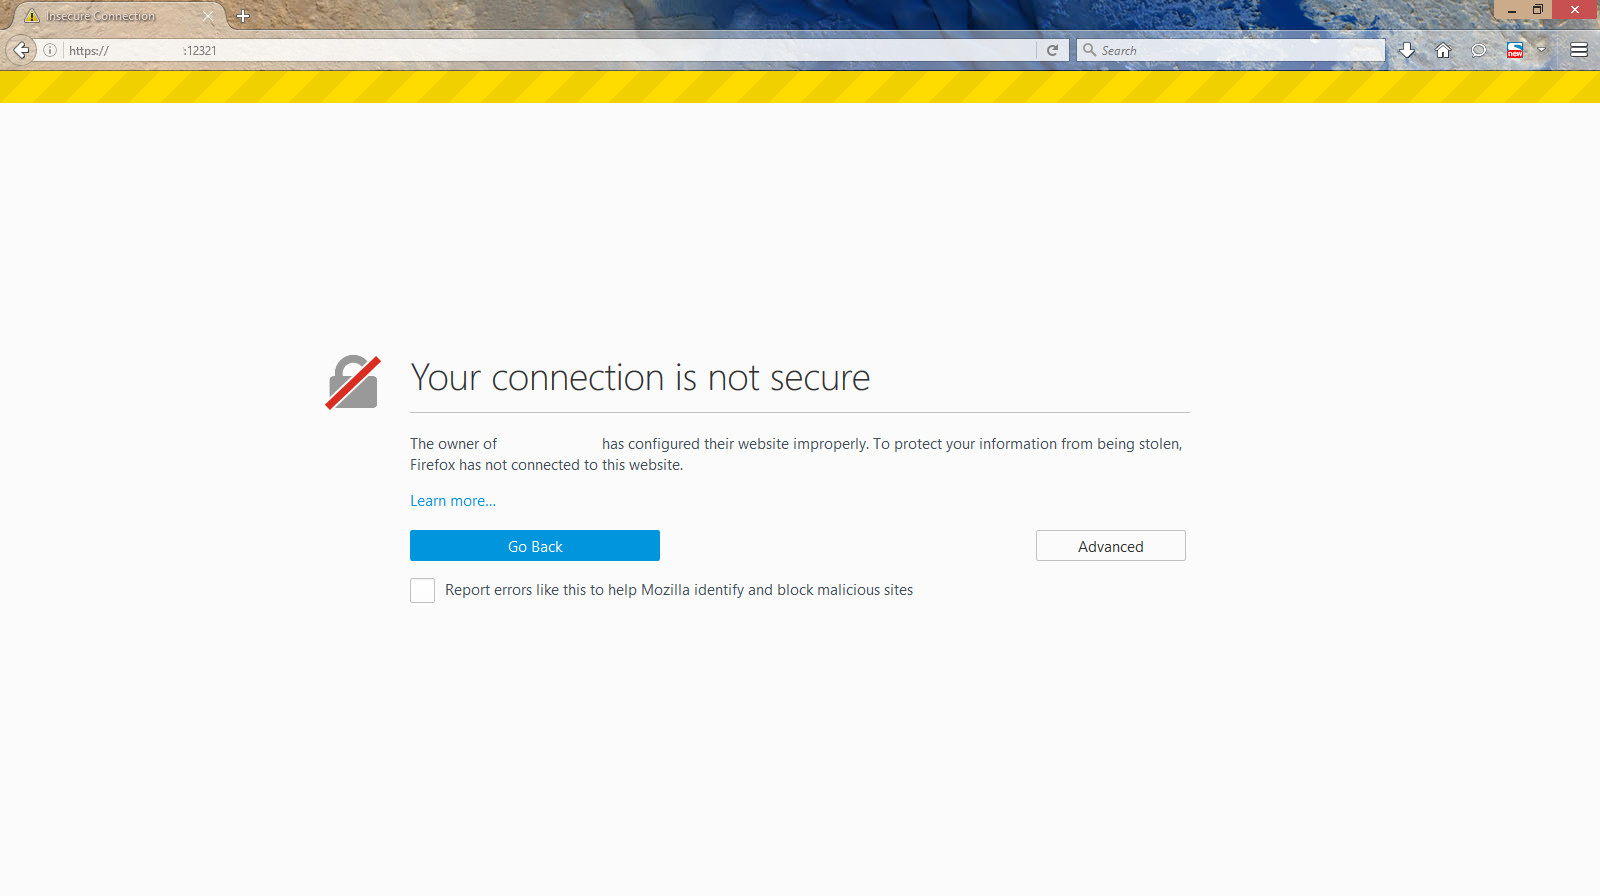
1. We enter the address of our server into the address bar of the web browser: https://IP.address.ofour.server:12321 (it’s necessary to use https, because the Webmin uses the SSL protocol; replace IP.address.ofour.server with the real address of your server; the 12321 port is the port to which the Webmin listens to)
2. The communication is encrypted via a certificate generated by the server. Therefore we choose the option „Advanced“
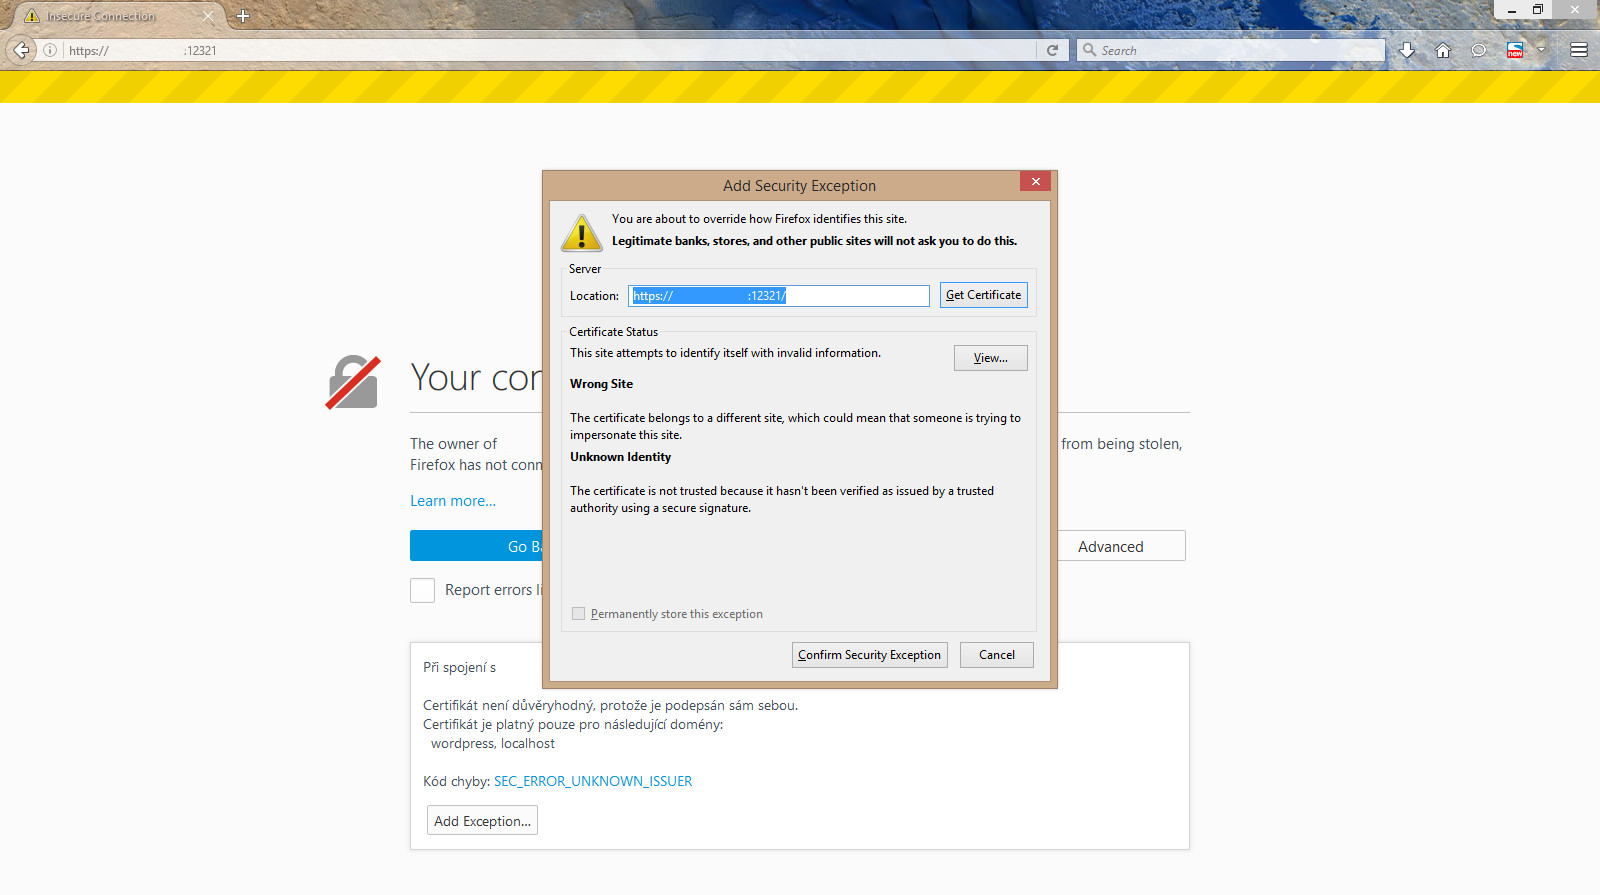
3. Next, we choose the „Add Exception…“ button
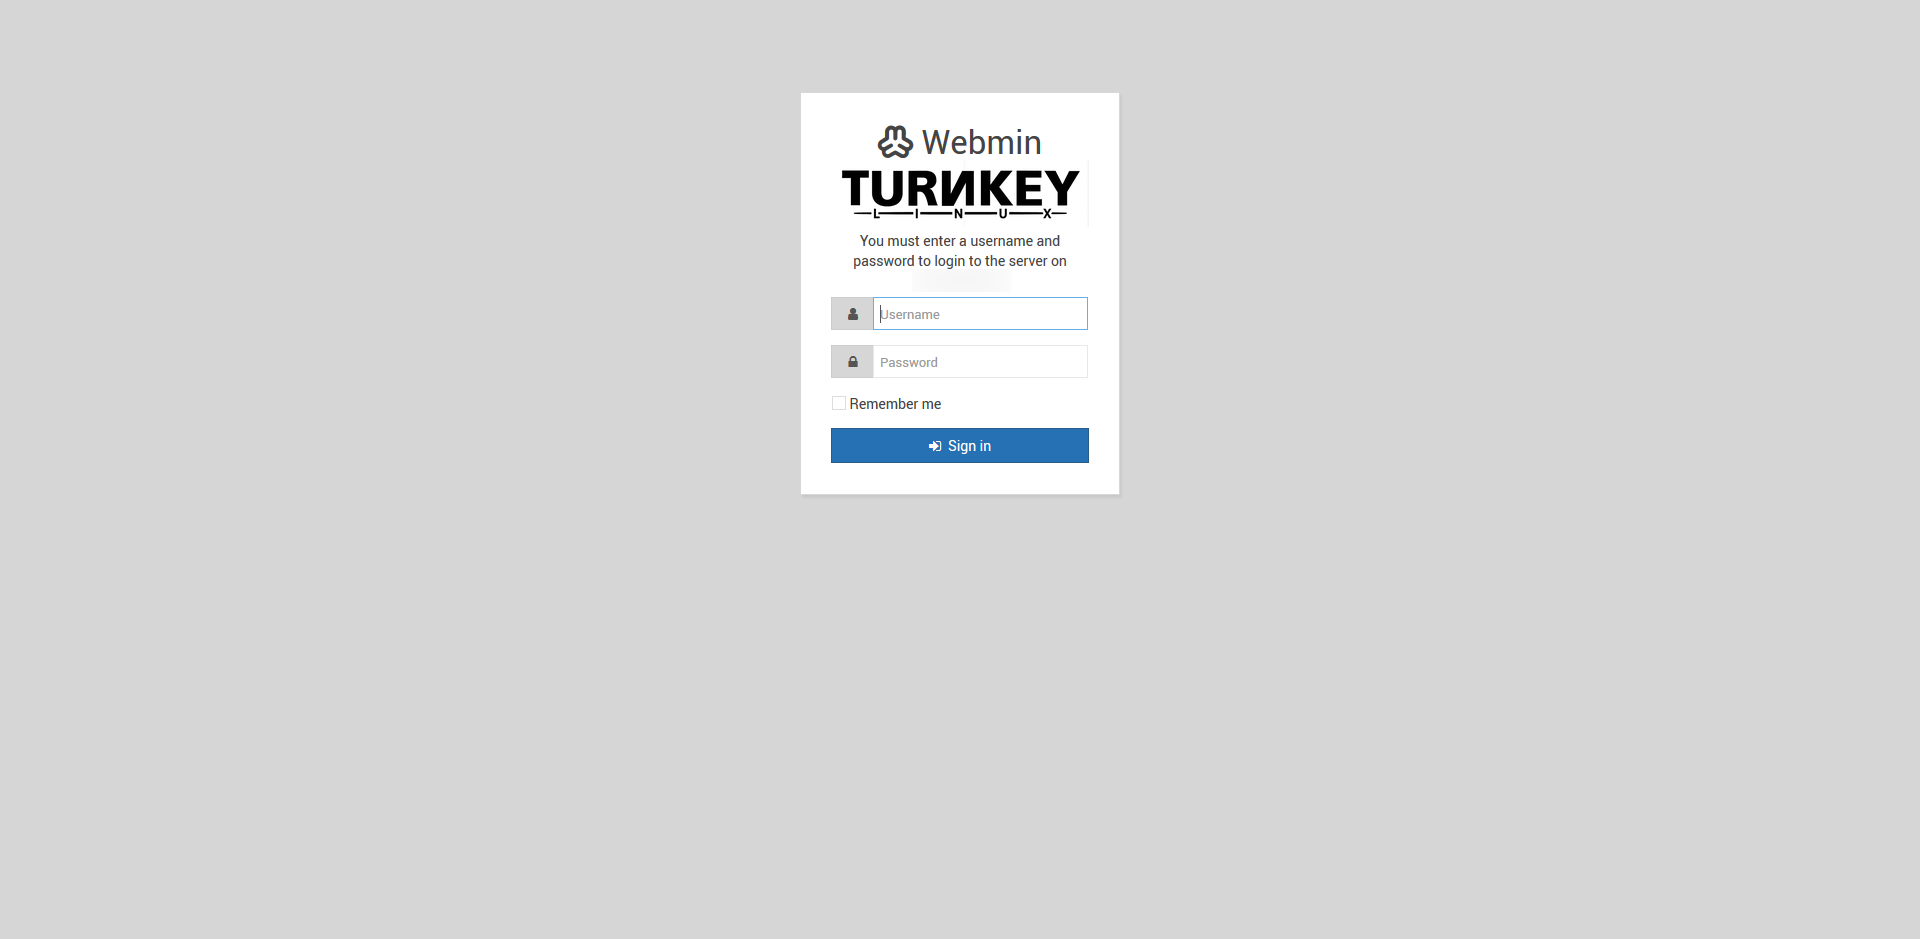
4. After hitting „Confirm Security Exception“ button, the login dialog of the Webmin tool will be shown
5. We enter the username and password and hit the „Login“ button – if the credentials we used are correct, the system will log us in and show the initial screen of the „Webmin“ section
6. The available tools for the server management are divided into particular sections, which include:
- Webmin configuration (Webmin)
- System
- Servers
- Tools
- Networking
- Hardware
7. We end the session of the Webmin tool by hitting „Logout“ button in the upper right corner of the screen – we should close the window of the browser only after a successful logout


